After Effects Compositing: 1 Intro to VFX (updated Jun 22, 2017) (Lynda)
After Effects Compositing: 1 Intro to VFX (updated Jun 22, 2017)
Intermediate | 1h 0m | 1.59 GB | Project Files | Software used: After Effects
Visual effects have gone from a secret craft to a well-known career path, and with today's software, and the right tutorials, anyone can make high-quality VFX. The After Effects Compositing Essentials series is designed to help mograph artists of any level master techniques such as matching, tracking, keying, and rotoscoping. This course is your introduction to the series: part tutorial and part inspiration. Mark Christiansen introduces the seven essential compositing techniques and some bonus tips to help enhance drama, correct color, and create transparency. He also explains the art of storytelling with VFX, and how the pros use After Effects to create convincing movie magic.

After Effects CC 2017: VFX Essential Training (Lynda)
After Effects CC 2017: VFX Essential Training (Lynda)
Beginner | 3h 36m | 1.82 GB | Project Files | Software used: After Effects
Learn how to create stunning visual effects with one of the most widely-used and highly-regarded compositing applications on the market—Adobe After Effects CC 2017. Although this is an introductory course, if you're brand new to After Effects, check out After Effects CC 2017 Essential Training: The Basics; in that course, instructor Mark Christiansen starts from the very beginning, introducing you to the interface and other basic concepts to help you get up and running with the popular program.
In this course, Alan Demafiles dives into the fundamentals you need to start creating visual effects with After Effects CC 2017. Discover how to work with green screen footage, use rotoscoping to separate foreground from background, track footage, and add your own 3D elements to a scene. Learn how to use particles to create fire, use noise to replace the sky, and more. In the final, project-based chapter, reinforce your new skills by putting techniques into practice using real-world scenarios.

After Effects Guru: Keyframe Assistants (Lynda)
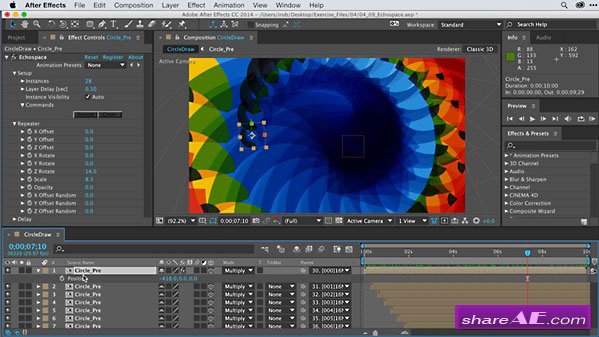
After Effects Guru: Keyframe Assistants (Lynda)
Size: 517MB | Duration: 2h 35m | Video: AVC (.mp4) 1280x720 30fps | Audio: AAC 48KHz 2ch
Genre: eLearning | Level: Intermediate | Language: English
After Effects Guru: Keyframe Assistants - Explore the tools in After Effects that help with the animation "between" the animation: keyframe assistants. These features help speed up repetitive tasks and add style to animations. This course starts with the basics: using the Keyframe Assistant tool itself to control the appearance, sequence, and timing of multiple layers within a single pre-composition.
Then you'll move into very refined, keyframe-specific adjustments using a few different tools: Convert Audio to Keyframes, the Wiggler, ease adjustments, and expressions. In the final chapter, author Ian Robinson explores some very helpful third-party assistants like LayerMonkey, MotionMonkey, PlaneSpace, and Ecospace to speed up your day-to-day workflow

Motion Graphics for Video Editors: Working with Storyboards (Lynda)
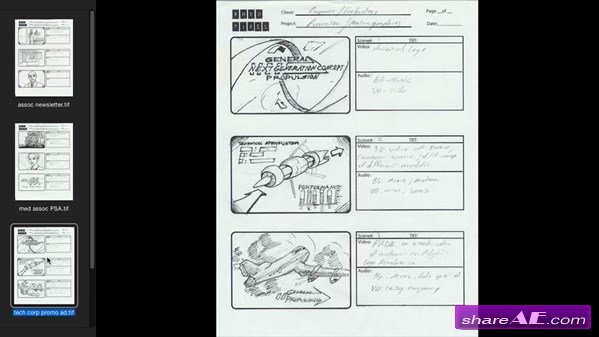
Motion Graphics for Video Editors: Working with Storyboards (Lynda)
1 GB | Duration: 1h 57m | Video: AVC (.mp4) 1280x720 30fps | Audio: AAC 48KHz 2ch
Genre: eLearning | Level: Intermediate | Language: English
Learn how to bring a storyboard to life. Rich Harrington starts this course by showing how to scan hand-drawn storyboards as well as assemble storyboards from photos or frame grabs. Once your ideas are digitized, you'll learn how to use Photoshop to enhance the artwork with additional line work and color and split your project into layered files. Then learn how to turn those files into engaging animatics in After Effects. In the final chapter, you'll create an assembly edit in After Effects, complete with a temporary music track, to help you share your artistic vision with clients.

After Effects Guru: Integrating Type into Video (Lynda)
After Effects Guru: Integrating Type into Video (Lynda)
1.43 GB | Duration: 2h 36m | Video: AVC (.mp4) 1280x720 30fps | Audio: AAC 48KHz 2ch
Genre: eLearning | Level: Intermediate | Language: English
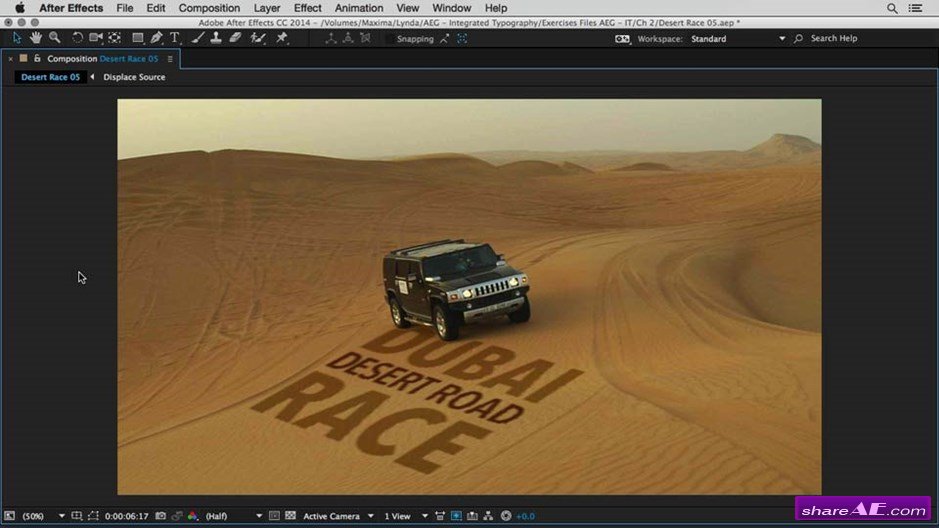
Discover how to combine text and video in After Effects in order to create visually stunning scenes. In this course, Eran Stern builds four different trailers that showcase impressive type effects.

After Effects Tips and Techniques: Rendering and Exporting (Lynda)
After Effects Tips and Techniques: Rendering and Exporting (Lynda)
373MB | Duration: 2h 07m | Video: AVC (.mp4) 1280x720 15fps | Audio: AAC 48KHz 2ch
Genre: eLearning | Level: Intermediate | Language: English
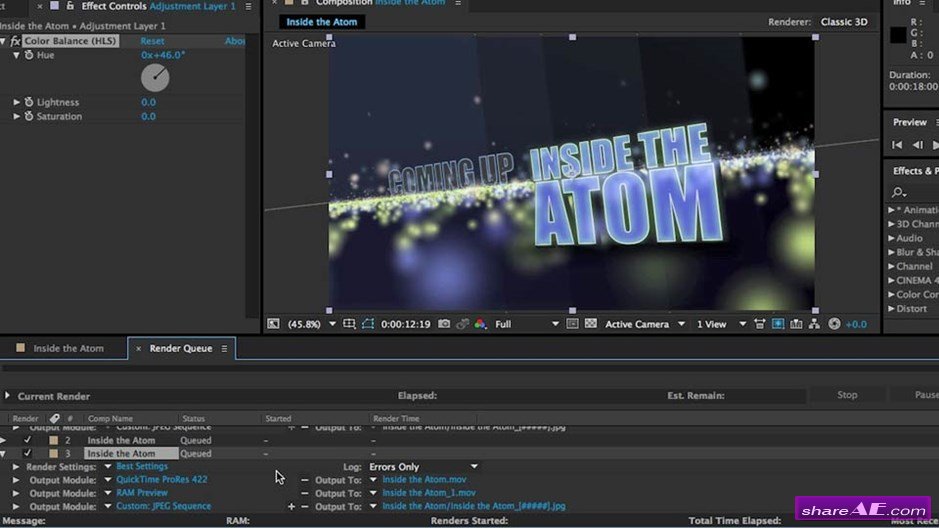
Get the most out of After Effects, with Eran Stern's After Effects Tips and Techniques. This installment is dedicated to rendering: increasing the quality and speed of your final export, as well as the RAM previews and prerenders you generate along the way. Eran shows how to optimize your system settings, addresses issues like flickering and upscaling, and introduces production-ready workflows that will increase your productivity and speed up interactions with complex projects.

Motion Graphics for Video Editors: Working with Type (Lynda)
Motion Graphics for Video Editors: Working with Type (Lynda)
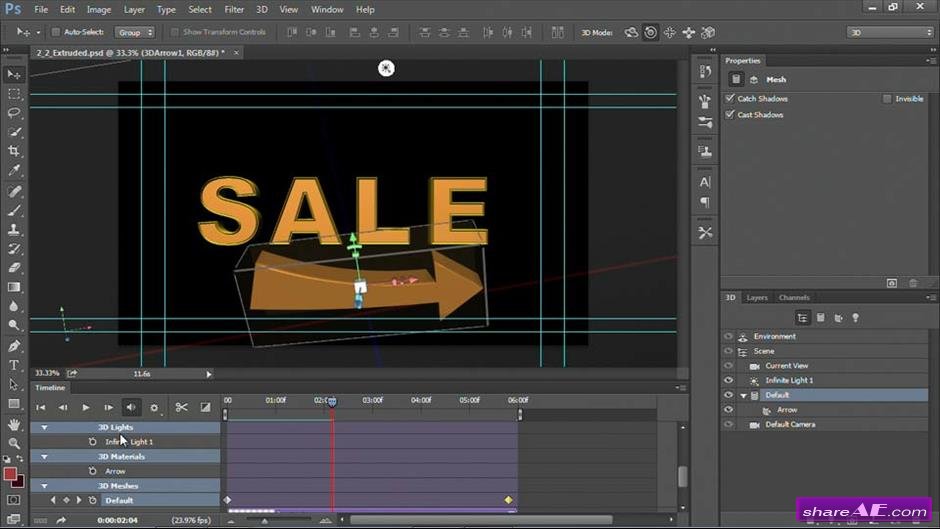
Text is used in video projects all the time, whether it's in lower thirds, title sequences, or credits. As a video editor or aspiring motion graphics artist, it's crucial to learn the fundamentals of working with type: compositing type, animating type, and creating 3D text and logos. In this course, Rich Harrington shows how to perform these tasks in Photoshop, After Effects, and Premiere Pro, three programs that are tightly integrated and make it easy to share and hand off assets. Watch and learn how to add a new dimension to your video projects, with type.

CINEMA 4D R16 Essential Training (Lynda)
CINEMA 4D R16 Essential Training (Lynda)
9h 35m | Sep 19, 2014 | .MP4 | Audio: aac, 48000 Hz, stereo | Video: h264, yuv420p, 1280x720, 29.97 fps(r) | 2.12 GB
Genre: E-learning
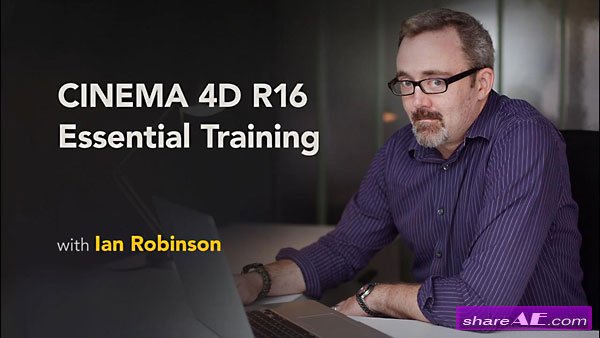
CINEMA 4D R16 (C4D) is a vital tool for motion graphics artists, visual effects (VFX) artists, and animators alike. Whether you're just starting out in one of these fields or migrating to C4D after many years in another program, your training should begin here. In this course, author Ian Robinson covers key C4D concepts, such as object hierarchies and relationships, and the essential skills for modeling with primitive objects, splines and generator objects, subdivision surfaces, and polygons. He also shows how to give your 3D models realistic-looking surfaces—the kind of surfaces that make objects seem bumpy, metallic, shiny, or even transparent—with materials and lighting. The final chapters of the course cover keyframe animation, camera movement, and C4D's popular MoGraph module. Dive in and learn what CINEMA 4D has in store for you.

Premiere Pro Guru: Multi-Camera Video Editing (Lynda)
Premiere Pro Guru: Multi-Camera Video Editing (Lynda)
1h 55m | .MP4 | Audio: aac, 48000 Hz, stereo | Video: h264, yuv420p, 1280x720, 15.00 fps(r) | 3.95 GB
Genre: E-learning
There are many reasons for shooting with multiple cameras. Perhaps it's to save time or achieve multiple angles. Or it might be to capture what's happening across a large area, like a sports arena or the stage during a concert. Luckily for editors, Adobe Premiere Pro supports editing and syncing footage from multiple cameras in situations like these. The multicamera editing process in Premiere is similar to live switching that occurs in mobile studios and newsrooms, and helps speed up the post-processing workflow. In this course, Rich Harrington reviews that workflow, showing you how to ingest footage and align it properly, as well as finish your video with color-correction and color-matching techniques.

Motion Graphics for Video Editors Creating Backgrounds (Lynda)
Motion Graphics for Video Editors Creating Backgrounds (Lynda)
Duration: 2h 32m | Video: AVC (.mp4) 1280x720 30fps | Audio: AAC 48KHz 2ch
Genre: eLearning | Level: Beginner | Language: English
Nearly every video project needs a background, whether it's an elaborate background for a chroma key set or simply a lower third. This course shows you how to create your own still and motion backgrounds using a few simple ingredients: the files that come with the course and from other sources on the web, and the built-in tools in Photoshop and After Effects. No special assets or plugins required! Rich Harrington introduces practical and easy-to-implement techniques that are suitable for video editors of all levels, and can be used to quickly add texture and style to your next project.

VFX Techniques: Tracking Objects Onto A Face with AE (Lynda)
VFX Techniques: Tracking Objects Onto A Face with AE (Lynda)
English | 2h 42m | Intermediate | 1 GB | Author with Lee Lanier
Genre: E-learning
VFX Techniques introduces common yet critical visual effects techniques that are used in film and television shows on a regular basis. This installment shows how to build complex composites with Adobe After Effects and mocha, where motion graphics are mapped to live-action footage of an actor. Author Lee Lanier starts by combining rotoscoping and effects to digitally apply makeup to an actor to disguise motion tracking marks. Then discover how to transfer footage into mocha and generate planar tracking data that you can use to motion track graphics to the moving face of the actor. Plus, learn how to build and adjust motion graphics to create the look of a virtual tattoo and a pair of holographic heads-up glasses.

After Effects Guru: Tracking and Stabilizing Footage (Lynda)
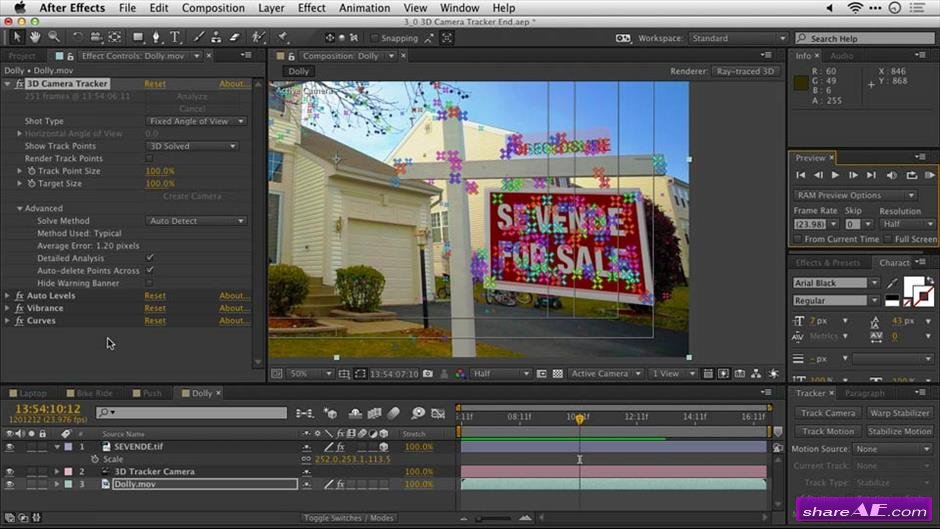
After Effects Guru: Tracking and Stabilizing Footage (Lynda)
Duration: 2h 01m | Video: AVC (.mp4) 1280x720 30fps | Audio: AAC 48KHz 2ch
Genre: eLearning | Level: Intermediate | Language: English
Whether it's removing camera shake or tracking a camera's movement, After Effects has you covered. You can apply a variety of techniques to smooth out the camera movement in a shot, using the After Effects Warp Stabilizer VFX effect, and track the camera to add objects into a scene realistically. Rich Harrington shows you how in this installment of After Effects Guru.

VFX Techniques: Creating a CG Flag with After Effects and CINEMA 4D (Lynda)
VFX Techniques: Creating a CG Flag with After Effects and CINEMA 4D (Lynda)
ISO | English | 1h 55m | Intermediate | 983.7 MB | Author with Joseph Lowery
Genre: E-learning
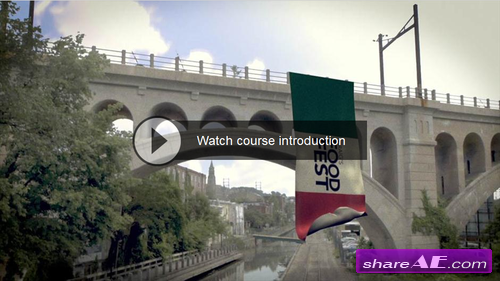
CINEMA 4D's fantastic rigid body and cloth systems and the powerful CAMERATRACKER plugin in After Effects are a great combination for tracking and compositing cloth-like materials in live-action footage. In this course, Craig Whitaker will guide you through the entire post-production process for creating a computer-generated flag from designing a mockup from reference material and tracking the camera movement to constructing the flag using CINEMA 4D's cloth simulation tools and compositing it back into the scene with After Effects. Each step of the process is rich with lessons applicable to similar situations CG and compositing artists will face in the real world.

VFX Techniques: Digital Set Extension (Lynda)
VFX Techniques: Digital Set Extension (Lynda)
1h 47m | Intermediate | Apr 15, 2014 | 2 GB
Genre: e-Learning
Learn how to digitally extend a set with After Effects. Lee Lanier shows how to remove a tricky green screen with the KEYLIGHT plugin and a custom luma matte, motion track a new background with appropriate parallax, digitally dress a set with static artwork, fabricate shadows, and relight the footage to create a realistic result.

Element 3D Essential Training (Lynda)
Element 3D Essential Training (Lynda)
Author Chad Perkins | subject Video, Motion Graphics | software: After Effects CS6, Element 3D V1 | level Appropriate for all
Duration 4h 57m | released Feb 11, 2013 | Project files not included | 1.22 GB
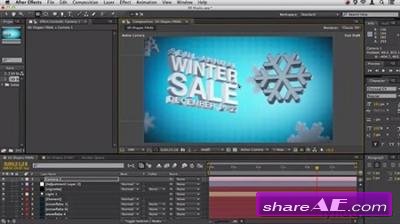
Element 3D is a third-party plugin that allows actual 3D models to be created from scratch or exported to Adobe After Effects, and rendered and composited at a high level of quality and impressive speed. Element 3D Essential Training walks you through the entire workflow and feature set. Author Chad Perkins starts with an introductory project to get you comfortable with the overall workflow in Element 3D, including transforming objects, applying materials, and lighting scenes. The course then details how to create 3D text and shapes, apply translucency and reflections, animate objects, and polish your projects with effects like ambient occlusion and motion blur. The course concludes with an advanced project that leverages each of these techniques.

Screen Replacement with After Effects and mocha AE (Lynda)
Screen Replacement with After Effects and mocha AE (Lynda)
Intermediate | 1h 40m | 573 MB | Project Files 11 MB | Software used: After Effects, mocha
eLearning
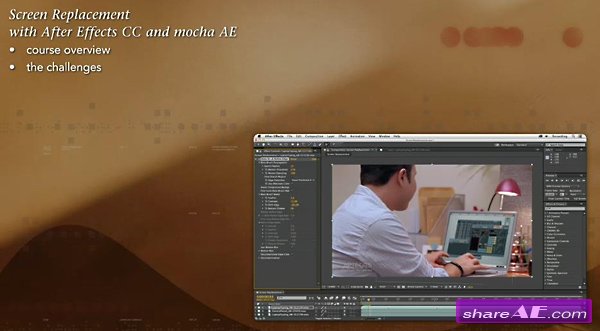
One of the most common visual effects tasks is to replace an image or video in a shot with another—be it a computer screen, a picture on a wall, a bumper sticker on a car, etc. This project-oriented course walks you through the major steps of replacing screens in After Effects, including tracking a screen in mocha AE, matching the new display to the depth-of-field blur and lighting of the original shot, and then cutting out a hand obscuring the screen using the Roto Brush and Refine Edge. A bonus movie at the end of the course discusses alternative approaches, including a demonstration of using reversible stabilization in Warp Stabilizer VFX for the tracking portion of the shot.

After Effects Guru: Mastering the Timeline (Lynda)
After Effects Guru: Mastering the Timeline (Lynda)
Intermediate | 1h 8m | 501 MB | Project Files: Included | Software used: After Effects CC, CS6
Genre: Video Tutorial
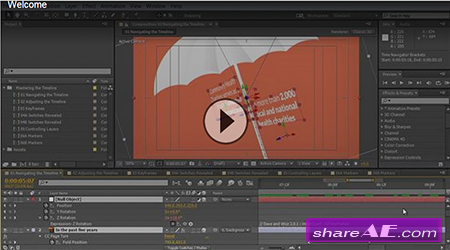
In this course, Rich Harrington offers tips for creating a fast and efficient motion graphics workflow in the After Effects timeline-leaving you with more time for creativity. This installment of After Effects Guru reveals time-saving features for navigating to specific timecodes, adjusting keyframes, changing layer behavior and applying effects with switches, and using markers to annotate your projects.

3D Typography in After Effects (Lynda)
3D Typography in After Effects (Lynda)
5h 10m | Intermediate | Jul 17, 2014 | 1.15 GB
There are many options for creating 3D text in After Effects, including After Effects' own ray-traced 3D feature, third-party plugins, scripts, and now CINEMA 4D Lite. But which one is best for you?

After Effects CC Essential Training (Lynda)
After Effects CC Essential Training (Lynda)
Duration: 11h 43m | Video: AVC (.mp4) 1280x720 15fps | Audio: AAC 44.1KHz 1ch
Genre: eLearning | Level: Beginner | Language: English
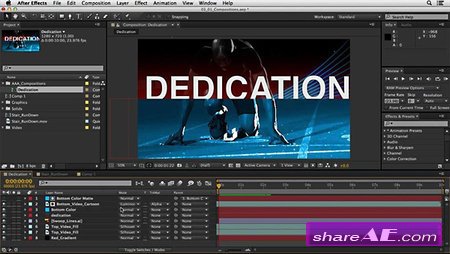
Delve into the world of motion graphics, keying, and compositing in After Effects CC. In this course, Ian Robinson lays out six foundations for becoming proficient with After Effects, including concepts such as layers, keyframe animation, and working with 3D. To help you get up and running with the program, the course begins with a project-based chapter on creating an animated graphic bumper. Next, explore the role layers play in compositions and find out how to add style to your projects using effects and graphic elements. Last, see how to build 3D objects with CINEMA 4D Lite, as well as stabilize footage, solve for 3D cameras, and paint in graphics with the Reverse Stabilization feature.

After Effects Compositing Essentials: Advanced Matching and Looks (Lynda)
After Effects Compositing Essentials: Advanced Matching and Looks (Lynda)
Incorporating a 3D camera into an otherwise 2D shot, or mixing 3D and 2D layers together brings 3D reality to the 2D screen. But there's more to it than simply adding a camera or camera track to a composition. You need to match the characteristics of a real, physical camera: replicating how it sees the world. You need to match the color of the original shot, or maybe even make creative adjustments. You might need to tweak the lighting, match motion blur, or compensate for lens distortion. You might even want to take advantage of high dynamic range (HDR) imaging techniques or experiment with different filmic looks. In this course, Mark Christiansen takes you through these scenarios and the next step in After Effects compositing: matching a shot and making it look not just realistic, but cinematic.

Mograph Techniques : Animating with C4D Effectors (Lynda)
Mograph Techniques : Animating with C4D Effectors (Lynda)
English | 1h 39m | AVC1 960x540 29.97 fps | AAC 96 Kbps 48 KHz | 1.8 GB
Genre: E-learning
Harness the power of the CINEMA 4D MoGraph module to create complex animations with only a couple of keyframes. By stacking multiple MoGraph effectors, you can achieve nice-looking animations quickly and easily, saving you time spent keyframing moves manually. Discover how to change your text on the fly or create iterations of it, while keeping the animation intact. Author EJ Hassenfratz introduces a real-world postproduction workflow, by creating a network bumper promo. This project covers creating 3D text in CINEMA 4D, compositing, and adding final polish to the footage inside of Adobe After Effects.

VFX Techniques: Space Scene 02: Compositing in After Effects (Lynda)
VFX Techniques: Space Scene 02: Compositing in After Effects (Lynda)
2h 7m | Video: AVC (.mp4) 1280x720 15fps | Audio: AAC 44KHz 1ch
Genre: eLearning | Working files included | Level: Intermediate | Language: English
What makes a 3D space battle even more spectacular Compositing in Adobe After Effects. Learn to take the render-pass sequences of the spaceship versus asteroid scene you created in part 1 of this series and recombine them in After Effects. Author Lee Lanier shows how to integrate shading and color in your render passes, animate the flames emitting from the spaceship, and create a particle simulation that makes the asteroid explosion seem more realistic. You'll also learn to replicate glows, lens flares, film grain, and camera motion along the way.

Up and Running with Optical Flares (Lynda)
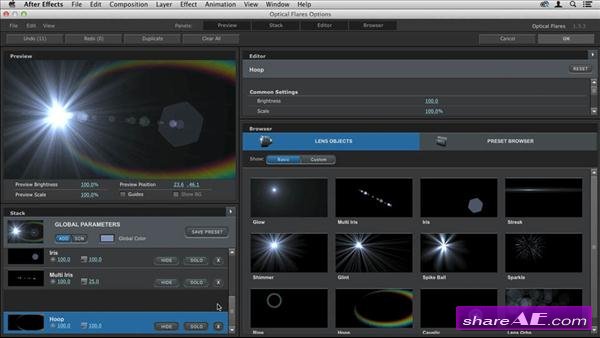
Up and Running with Optical Flares (Lynda)
software: After Effects CS6, CC, Optical Flares XXX | Project Files: Included | 896.64 MB
Genre: eLearning | Level: Beginner | Language: English
Lens flares are ubiquitous. They’re in commercials and promos, TV shows, and feature films. And most of the time, those flares were created with the Optical Flares plugin for After Effects.

Getting Started with After Effects Expressions (Lynda)

Getting Started with After Effects Expressions (Lynda)
Duration: 4h 06m | Video: AVC (.mp4) 960×540 15&30fps | Audio: AAC 48KHz 1ch
Genre: eLearning | Level: Beginner | Language: English
Even if you're not comfortable with scripting or coding, you may still want to take a look at expressions. They are like little scripts that trigger changes to layer properties, and they can save you time, make your work more flexible, and open up new creative possibilities. In this course, motion graphic designer Angie Taylor shows you how to make Adobe After Effects expressions work for you, starting with building expressions with the pick whip. Then she introduces javascript-based math expressions, which allow you to adjust timing and movement, and her favorite "no brainer" expressions, such as property linking and connecting camera focus to layers. Plus, discover how to react to sound, play with color, format text, and link 2D and 3D properties.

After Effects Guru : Working with 3D in C4D Lite (Lynda)
After Effects Guru : Working with 3D in C4D Lite (Lynda)
Intermediate | 1h 29m | 572 MB | Project Files 2 MB | Software used: After Effects CC
Genre: eLearning
After Effects Guru helps you dig deep into advanced After Effects options and techniques. This first installment focuses on the new CINEMA 4D (C4D) Lite plugin-a slimmed down version of MAXON's 3D modeling program offered with After Effects CC-and the exciting ways the two programs integrate.

Mograph Techniques : Retiming and Tracking Footage (Lynda)
Mograph Techniques : Retiming and Tracking Footage (Lynda)
Intermediate | 2h 46m | 1.20 GB | Project Files 622 MB | Software used: After Effects CS6, CC, CINEMA 4D R13, R14
Learn to add motion graphics and color effects to your footage, and retime the results. Author Ian Robinson starts with isolating and building the base composition and tracking the footage with mocha AE, and then integrates motion graphics that reinforce the narration. He also shows how to color correct and retime your composite, whether it includes media shot at normal frame rates or over and undercranked footage.

Motion Graphics for Video Editors : Creating Animated Logos (Lynda)
Motion Graphics for Video Editors : Creating Animated Logos (Lynda)
English | Mar 20, 2014 | Audio: aac, 44100 Hz, stereo | Video: h264, yuv420p, 1280x720, 29.97 fps(r) | 1.47 GB
Genre: E-learning
Everybody wants an animated logo these days, which is great news for freelance video editors. But what if you're new to motion graphics? Motion Graphics for Video Editors breaks the workflow down into easily understandable chunks, showing how to use the tools most video editors already have—in Adobe Creative Cloud—to complete basic motion graphics tasks. In this course, Rich Harrington introduces a few different ways to get and prep logos that are the right format and resolution, and use Photoshop or Illustrator to convert the files into layered images that are ready to animate. The real work then takes place in After Effects, where Rich shows how to animate the logo and add reflections, cast shadows, patterns, texture, and glows that will impress your future clients.

Motion Graphic Music Videos: The Work of Scott Pagano (Lynda)
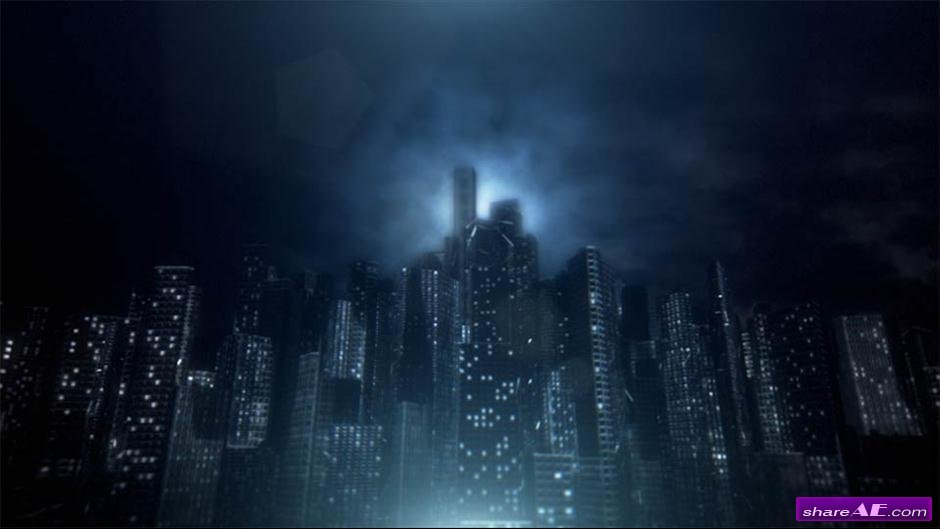
Motion Graphic Music Videos: The Work of Scott Pagano (Lynda)
English | 37 mins | AVC1 1280x720 29.970 fps | AAC 128 Kbps 44.1 KHz | 704 MB
Genre: eLearning | Level: Appropriate for all
In this Start to Finish documentary, Scott Pagano, head of LA design studio Neither-Field, walks us through the cinematic, motion-based music video he designed for electronic music group the M Machine. Taking inspiration from Fritz Lang's classic film of the same name, Metropolis Pt. II takes you on a path to the beating "heart" of a city, punctuated by moments that rise and fall with the music. Scott explains how he constructed the buildings using Maya's particle system, designed the mechanical vines that guide the viewer along, and built the mechanized human figure at the city's center, which explodes to reveal its own inner workings.

Mograph Techniques: Shape Animation in After Effects (Lynda)
Mograph Techniques: Shape Animation in After Effects (Lynda)
There are some big advantages to using shape layers in After Effects: precise, fast rendering; compatibility with Illustrator; and smaller file sizes. Their vector quality means the artwork can be scaled to any size while remaining crisp and sharp. And they work with third-party effects and support layer styles. Take a deep dive and explore how to use the shape tools to communicate ideas in an uncluttered way and make complex animations simple. Eran Stern shows how to create custom wipe animations, use mathematical operations to animate shapes and paint them in over time, and morph between vector shapes.

Mograph Techniques: Physics Simulations in After Effects (Lynda)
Mograph Techniques: Physics Simulations in After Effects (Lynda)
English | 2h 00m | AVC1 1280x720 29.970 fps | AAC 128 Kbps 44.1 KHz | 338 MB
Genre: eLearning | Level: Intermediate
Explore how to create complex physical animations inside After Effects using Newton (a third-party plugin) and the Connect Layers (a free script). This project-based course covers a few specific and popular types of effects, such as letters suspended from strings and connected, randomized spheres. Artist Eran Stern shows how to connect any type of element together in a complex 3D array of strings and work with different dynamic simulations in order to create Dormant and Collision as well as Staggering and Kinematic animation types.

After Effects Apprentice 14: Shape Layers (Lynda)
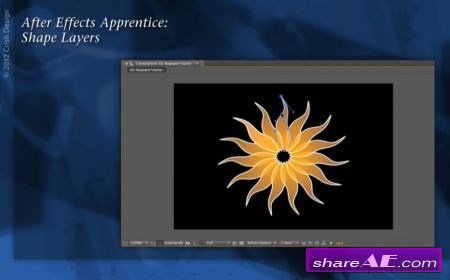
After Effects Apprentice 14: Shape Layers (Lynda)
English | Project Files Included | 943 MB
Genre: Video Training
In this course, author Chris Meyer shows how to create and animate vector-based artwork directly inside Adobe After Effects. The course covers the ins and outs of working with shape layers, including creating shape paths, applying shape effects, and reordering shape operators. The course also contains a series of exercises on creating common motion graphics elements using shape layers.
The After Effects Apprentice videos on lynda.com were created by Trish and Chris Meyer and are designed to be used on their own and as a companion to their book After Effects Apprentice. We are honored to host these tutorials in the lynda.com Online Training Library®.

After Effects Guru: Faster Previews and Rendering (Lynda)
After Effects Guru: Faster Previews and Rendering (Lynda)
English | Mar 26, 2014 | .MP4 | Audio: aac, 44100 Hz, mono
Video: h264, yuv420p, 1280×720, 29.97 fps(r) | 1.68 GB
Every After Effects user can use more time. After Effects gurus make more time. As you build motion graphics and special effects, your computer has to work hard. The choices you make greatly impact how long your computer takes to render projects and the results you get. In this course, Rich Harrington teaches some important strategies to render faster and work less, and get more power and responsiveness from the RAM and cache settings in After Effects. This includes selective previews, temporary quality reductions, and proxy files. Start now, and get more work done and get home sooner.

Mograph Techniques: Creating a Flat Vector look using C4D and After Effects (Lynda)
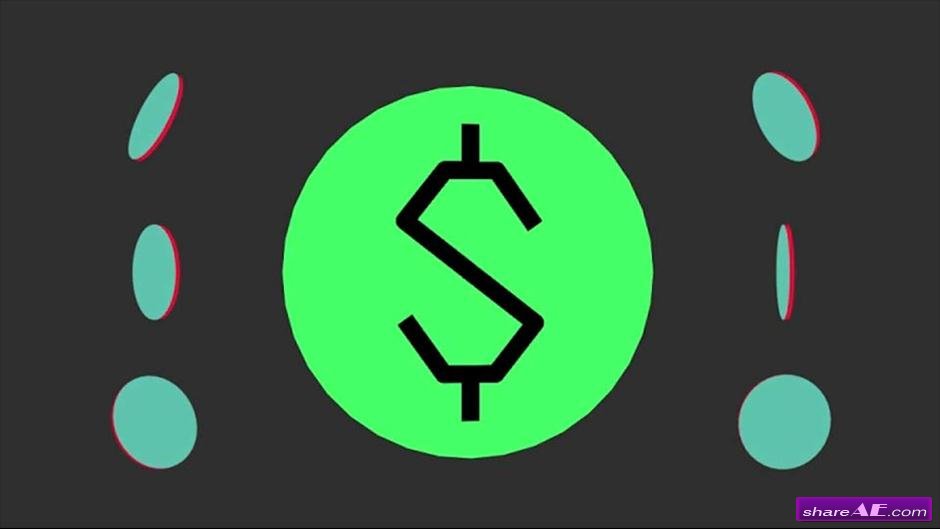
Mograph Techniques: Creating a Flat Vector look using C4D and After Effects (Lynda)
1h 43m | Intermediate | Apr 23, 2014 | 305 MB
Creating flat vector-based artwork that moves along the X, Y, and Z planes is a fun and beautiful way to give an animated infographic style and energy. You can mimic this 2D look with a 3D animation-like feel using the power of CINEMA 4D and After Effects combined. Artist Eran Stern shows mograph artists how to achieve this simple style of rendering using a series of project-based examples: a sophisticated particle reaction, a complex DNA chain sequence, a button, and a coin animation.

Mograph Techniques: Creating a Sports Bumper (Lynda)

Mograph Techniques: Creating a Sports Bumper (Lynda)
2h 26m |Intermediate | May 30, 2014
Genre: eLearning | Project include | Language: English
How do motion graphics artists create those polished animated graphics for channels like ESPN on such short deadlines? They turn to the high-powered toolset in CINEMA 4D. In this course, EJ Hassenfratz shows you how to use those same tools to create your own dynamic, high-energy sports bumper. Learn how to model the basic elements in C4D and add robotic-style movement with the Mograph module, and take a logo from Adobe Illustrator and turn it into a smart, beveled 3D project. Then EJ shows how to combine it all in After Effects, along with a few special effects. This workflow mimics a real post-production environment and allows a more intermediate look at the mograph module and an opportunity to take your motion graphics knowledge to the next level.

After Effects Guru: Animating Typography (Lynda)
After Effects Guru: Animating Typography (Lynda)
Duration: 1h 53m | Video: AVC (.mp4) 1280x720 15fps | Audio: AAC 44.1KHz 1ch
Genre: eLearning | Project include | Language: English
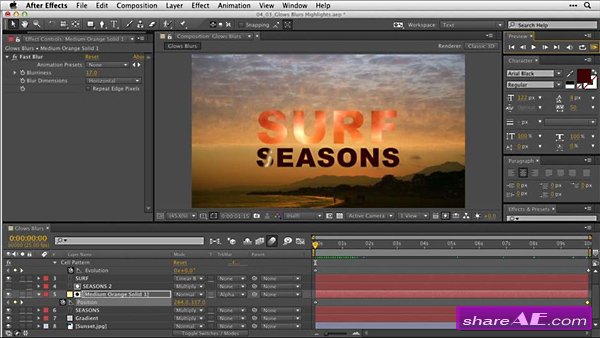
Many designers get their start in animation with the simple desire to create interesting type animation, but they don't know where to begin. Let an After Effects guru show you the path. Join Ian Robinson for an in-depth look at all of the different ways you can animate type in After Effects, from animation presets to animated cameras. Rather than focusing just on the buttons, Ian focuses on creating and adding movement that matches the meaning of the words. Follow along as he dives into the process for deciding which tool is best to use for each effect.

Creating a Show Open in After Effects and CINEMA 4D (Lynda)
Creating a Show Open in After Effects and CINEMA 4D (Lynda)
Duration: 1h 25m | Video: AVC (.mp4) 1280x720 15fps | Audio: AAC 44.1KHz 1ch
Genre: eLearning | Level: Intermediate | Language: English
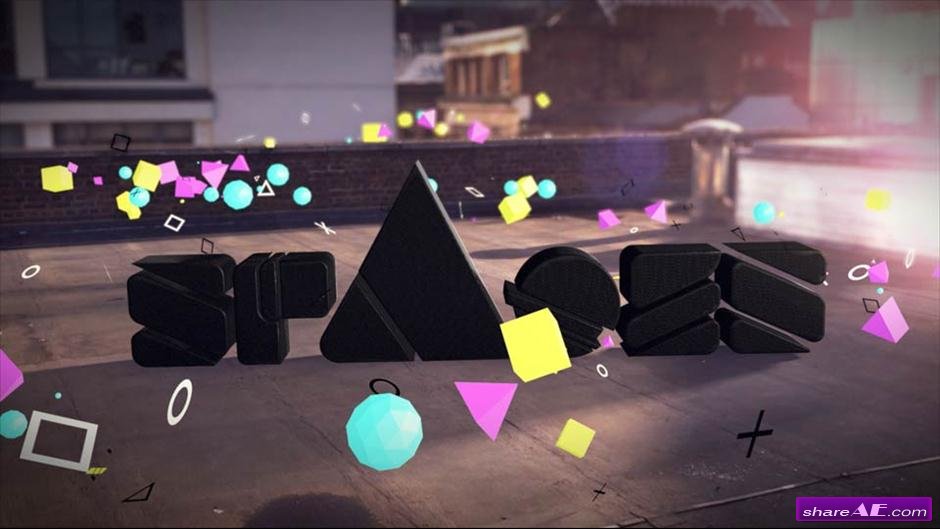
Film and television clients want strong openings for their shows. Adding a custom motion-tracked logo to the opening credits can add an extra burst of energy as well as reinforce the themes of the program. In this course, Andy Needham shows how to take existing footage, track it with the CameraTracker plugin for After Effects, and define a ground plane and 3D origin point for your footage. Then you'll bring the scene into CINEMA 4D and use its MoGraph tools to design an animated logo, plus match the lighting with the original background plate. Then learn how to bring it all together with color grading and optical lens effects back in After Effects.

Up and Running with the Foundry CameraTracker for After Effects (Lynda)
Up and Running with the Foundry CameraTracker for After Effects (Lynda)
1h 5m | Level : Intermediate | May 09, 2014 | Exercise files | 812 MB
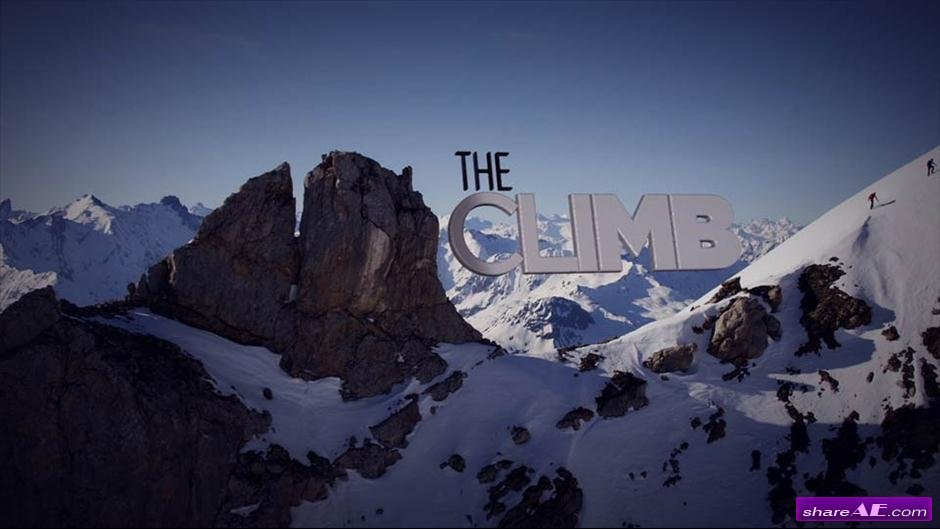
CameraTracker allows you to pull 3D motion tracks and match camera moves without leaving After Effects, and offers greater control over complex tasks compared to Adobe's built-in tracker. Learn how to use this advanced plugin to track and solve basic shots, refine a camera solve with garbage mattes, and place objects into shots to test your tracking data. Motion graphics pro Andy Needham also shows how to use the Track Finder tools to remove bad tracking data, and export data to CINEMA 4D for some really cool sample projects, including a 3D simulation and a 3D text treatment.

After Effects: Creative Cloud Updates (Lynda)
After Effects: Creative Cloud Updates (Lynda)
3h 17m | Appropriate for all | Apr 04, 2013 Updated May 08, 2014 | 1.3 GB
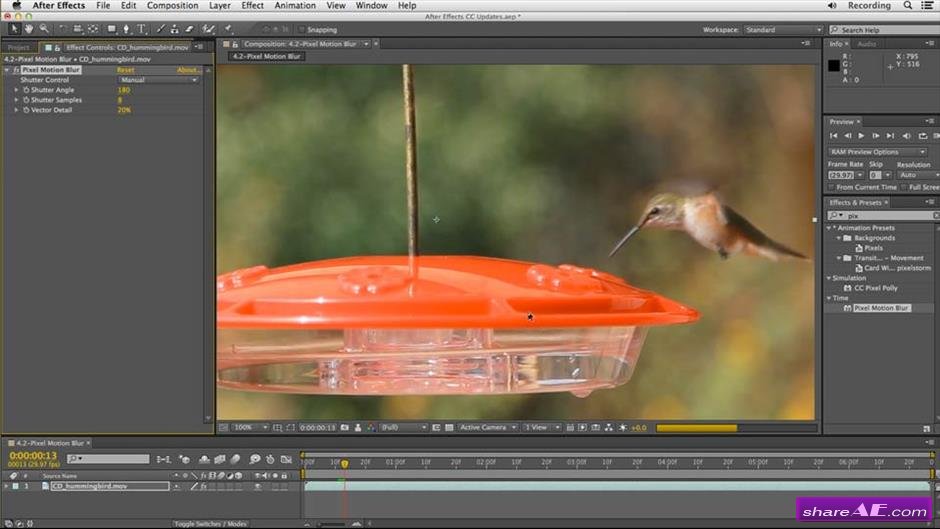
Veteran After Effects user Chris Meyer shares real-world production and workflow advice as he demonstrates the newest features in Adobe After Effects CC. Chris reviews the streamlined connection to MAXON CINEMA 4D and the Refine Edge tool for creating mattes around hair and other partially transparent areas, and reveals how to get more accurate tracks and stabilizations with Reverse Stabilization and ground planes. He also reviews the upgraded Warp Stabilizer and 3D Camera Tracker and important new usability features such as layer snapping.

After Effects Compositing Essentials: Matching Foreground to Background (Lynda)
After Effects Compositing Essentials: Matching Foreground to Background (Lynda)
Intermediate | 2h 00m | 3.35 GB | Project Files | Software used: After Effects CINEMA 4D
Genre: E-learning
Creating a moving shot that is made up of disparate elements and looks as though it was taken all at once, with a single camera, is the very core of visual effects compositing. To make the effect look natural, compositors also need a deep understanding of how to match color, light, and phenomena specific to the camera, including grain and depth of field. Matching requires no special knack; for example, you can learn to effectively match color even if you have trouble seeing color accurately. So join Mark Christiansen, as he teaches you how to composite 2D or 3D foreground objects to a background scene with After Effects and seamlessly match light, color, depth of field, and noise, so that every element looks natural.

After Effects Guru: Color Grading Footage (Lynda)
After Effects Guru: Color Grading Footage (Lynda)
Duration: 1h 36m | Video: AVC (.mp4) 1280x720 30fps | Audio: AAC 44.1KHz 1ch
Genre: eLearning | Level: Appropriate for all | Language: English
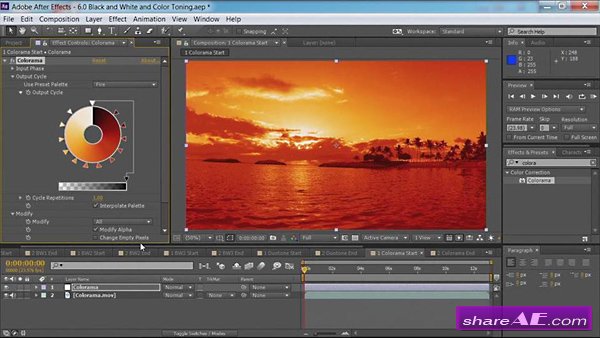
Whether you're looking to "fix it in post" or "make it pop," After Effects offers a wealth of tools for making both technical and artistic color enhancements to your footage. And this class has you covered. Rich Harrington introduces a basic workflow for getting a shot back to its best natural state, and then advanced techniques that allow you to push your footage a little further: converting it to black and white or adding creative color. Start now and learn how to make your video look its best within After Effects.


