Product and Packaging Visualization in CINEMA 4D and After Effects (Digital Tutors)
Product and Packaging Visualization in CINEMA 4D and After Effects (Digital Tutors)
Duration: 3h 28m | Level: Intermediate | Project Files Included | Software used: CINEMA 4D R15, After Effects 12.2.0.52, Knoll Light Factory | 2 GB
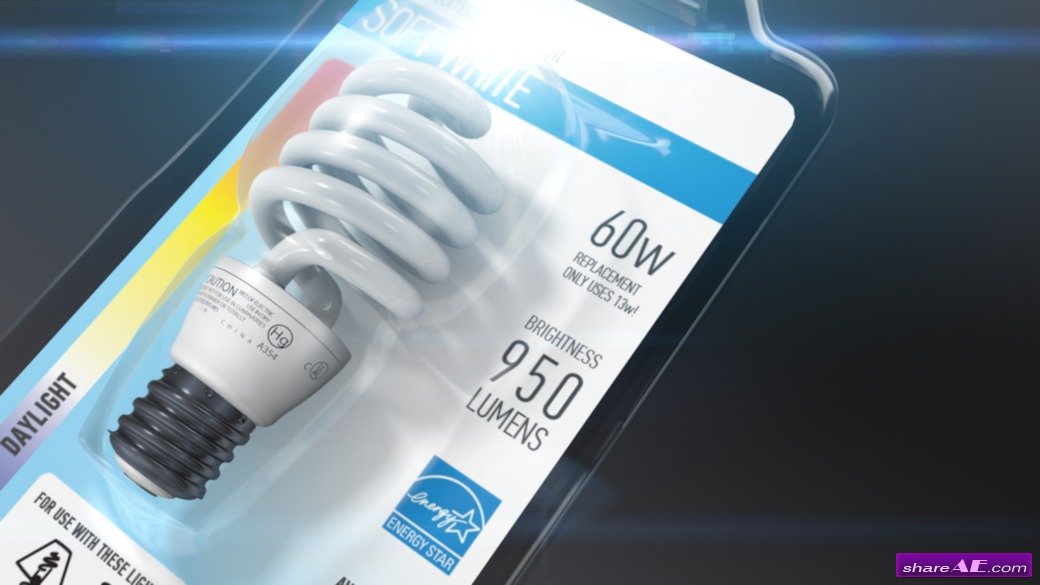
In this series of tutorials, we will go through the process of creating a product visualization animation complete with text explaining the benefits of the product. This product also includes its packaging which can create some unique challenges when trying to show off the product itself.
We'll learn how to make this work for us and then how to bring this inanimate object to life. We'll use Cloners and our own personal hierarchy controls to create lots of fun and interesting arrangements of the product.
After we finish animating, we learn how we can set up lights and cameras to use as placeholders. We use these with the "extract" function in the CINEWARE effect in After Effects. They will keep position and rotation keys for us to use with the text that we later want to add to the composition. After all the text and icons have been added to the comp, we finish off with a few realistic lens effects.
This training is for you if you want to create product visualizations with text interactions and learn more about the powerful CINEWARE bridge between After Effects and CINEMA 4D.
Topics will learn:
02. Checking out the script and setting up the first camera 07:52
03. Easing the first camera and creating a second camera 04:11
04. Using a Morph Camera 07:50
05. Creating the light bulb Cloner 06:11
06. Setting up interesting camera moves with camera 2 04:50
07. Adding a few display tags 04:04
08. Zooming the camera through the bulbs with quick cuts 09:3
 1
109. Setting up the light bulb carousel comp 09:16
10. Finishing the carousel animation 09:59
11. Placing the camera above the bulbs 05:15
12. Rotating the bulbs to form a new shape 08:17
13. Creating camera 3 with a time saving trick 07
 9
914. Replacing the packaging 08:25
15. Adding lights as placeholders for text 08
 :31
:3116. Adding a camera as a rotation placeholder 03:40
17. Setting the render settings 07:08
18. Bringing the render into After Effects 05:21
19. Using CINEWARE to extract data 07:03
20. Baking the Morph Camera animation in CINEMA 4D 03:56
21. Using the placeholder animations 10:22
22. Adding more text using the placeholder data 07:3
 3
323. Placing the two final statements 07:20
24. Creating the icons and text compositions for the carousel 07:01
25. Placing the carousel text 09:19
26. Using the rotation placeholder with the carousel comps 08:24
27. Cutting out the bad frames 07:55
28. Tracking for a lens flare 05:00
29. Applying the tracking data and tying to a light 04:15
30. Creating the flare with an Adjustment layer and Knoll Light Factory 04:54
31. Adding final lens effects 06:12
Download - From Prefiles.com
Download - From Rapidgator.net
Download - From Nitroflare.com
Download - From turbobit.net

TO WIN USERS: If password doesn't work, use this archive program: WINRAR 5.50 and extract password protected files without error.
Product, Packaging, Visualization, CINEMA, After, Effects, Digital Tutors
Related Posts
-
 FilmConvert Pro V2.32 for AE & Premiere (Win) + All Camera Packs
 FilmConvert changes the...
FilmConvert Pro V2.32 for AE & Premiere (Win) + All Camera Packs
FilmConvert Pro V2.32 for AE & Premiere (Win) + All Camera Packs FilmConvert changes the...
-
 Rowbyte Plexus 2.0.13 - Win64 (Aescripts)
...
Rowbyte Plexus 2.0.13 - Win64 (Aescripts)
Rowbyte Plexus 2.0.13 - Win64 (Aescripts)...
-
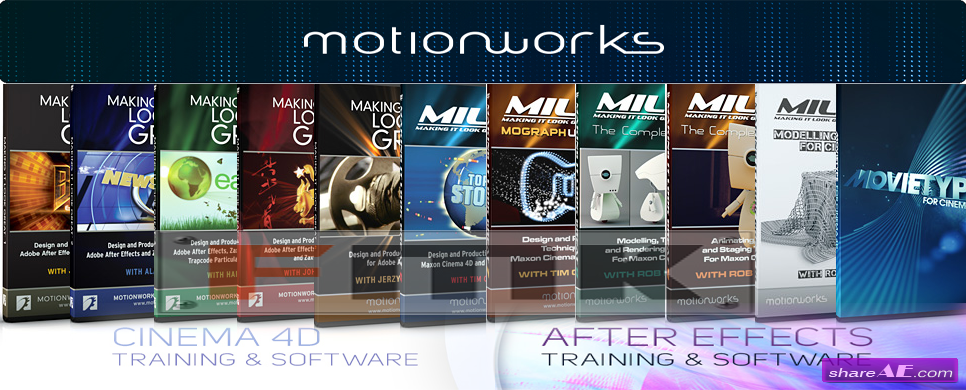 Making It Look Great Full 10 Collection & Movie Type for C4D (MotionWork)
 10 Volume Training...
Making It Look Great Full 10 Collection & Movie Type for C4D (MotionWork)
Making It Look Great Full 10 Collection & Movie Type for C4D (MotionWork) 10 Volume Training...
-
 LayerMonkey v1.04 (Aescripts)
 LayerMonkey is a versatile script for After Effects that arranges...
LayerMonkey v1.04 (Aescripts)
LayerMonkey v1.04 (Aescripts) LayerMonkey is a versatile script for After Effects that arranges...
-
 Crane Camera Lens Intro - After Effects Project (Videohive)
Crane Camera Lens Intro Videohive - Premium After Effects Templates After Effects Version CS5,...


